
Yesterday, I decided to do a couple of projects that have been rattling around in my mind for awhile. I got the idea and instructions from the website All Things Thrifty. I'll walk you through what I did and what I'd do differently next time.
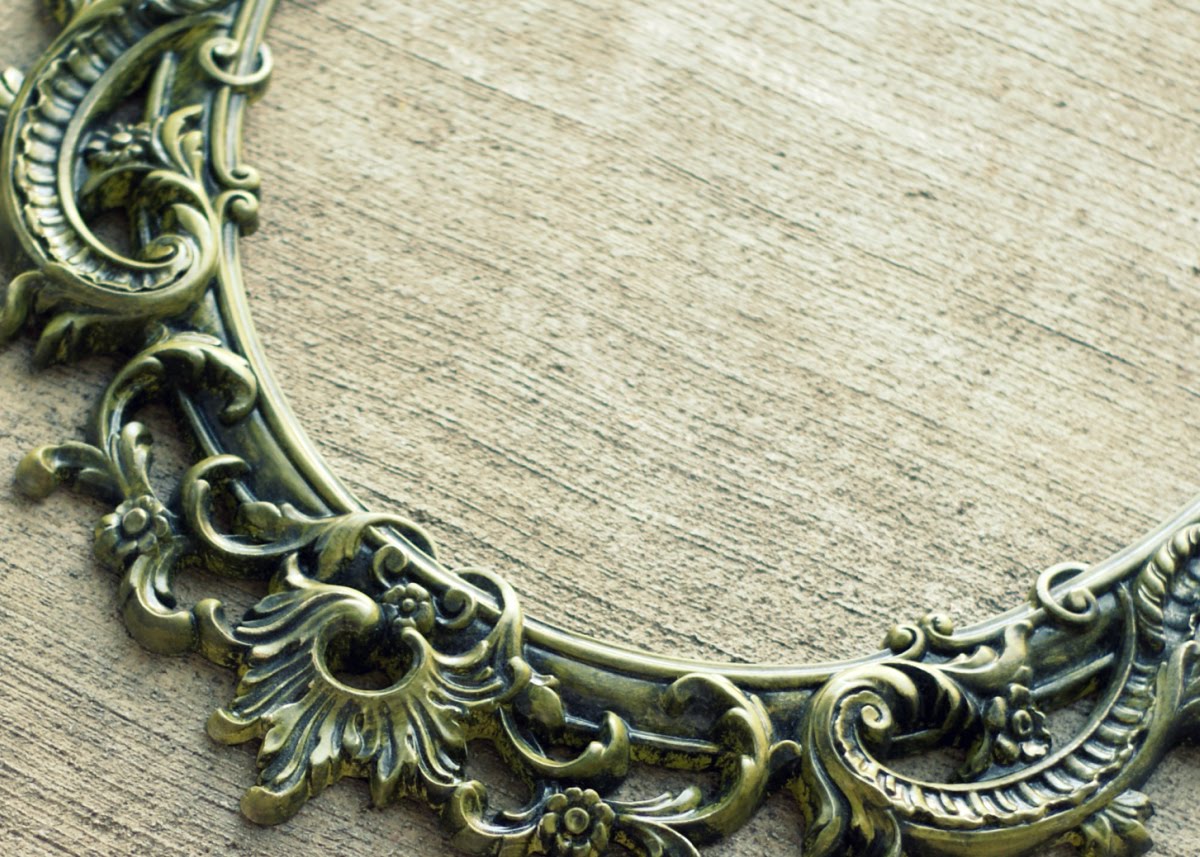
 These techniques can be used on just about anything around the house. Furniture, mirrors, picture frames....it works better with something that has ornate details though, such as my mirror above. My husband has hated my mirror since I brought it home, I figured if I changed up the color he might like it better. {and he does!}
 I also decided to do the box I use to hold mail, pens, pencils, and stray junk. I've had it for a few years and wanted to spruce it up a bit!
 You'll need to buy some indoor/outdoor spray primer. The brand doesn't really matter I don't think but you need a spray kind to get an even coverage.
 Lay out some newspaper to cover your area really well. There will be some overspray so make sure you cover WELL:) Apply 2 even coats of primer leaving some time between each coat to dry. It dries quickly so if you're working on multiple pieces you can move on and by the time you're done the first pieces should be dry or very close.
 Next you'll use some indoor/outdoor spray paint. Pick some really neat colors. And, don't be afraid of the bright ones! Later when you apply the glaze it will tone down the colors a bit.
 I chose the ivy green for my mirror.
 And, I chose red for my box.
Now, here's where you might want to visit All Things Thrifty to get the glazing techniques. I didn't start the glazing until after it was dark and so I don't have any pics to show the process. But basically you're going to apply a faux technique tintable glaze {found in the paint dept at Lowe's & Home Depot} and use a damp rag to remove some of it leaving the glaze in the crevices.
 My pieces came out pretty good but DON'T do what I did! Instead of getting the water-based glaze that is suggested, I decided to save a few bucks and got a Minwax furniture stain/sealer. Boy-oh-boy did I give myself a headache! I started off with the mirror and worked way too slowly at first. The top of the mirror is a little darker than the rest because the oil-based Minwax gooed up the spray paint and would not wipe off near as easily as when I worked quicker. Bottom line, buy the faux technique glaze!!!! You'll have way much less stress and be happier with the results!!! Now, onto the before/after photos:)
 {If you want, you can click on the photos they'll enlarge a little.}
I'm adding this post to the I Made It! Blog party Thursday over on the Everything Etsy Blog. If you made something this week that you'd like to share, head on over and join!
I lov the new looks from just a can of paint.
ReplyDeleteLove the colors....amazing what a little can of paint will do....
ReplyDeleteThese turned out great. Good idea.
ReplyDeleteWow! Great look, I LOVE it. Can't wait to try it out on some things I'm falling out of love with....
ReplyDeleteThey look awesome...I am now inspired to find something to paint :)
ReplyDelete